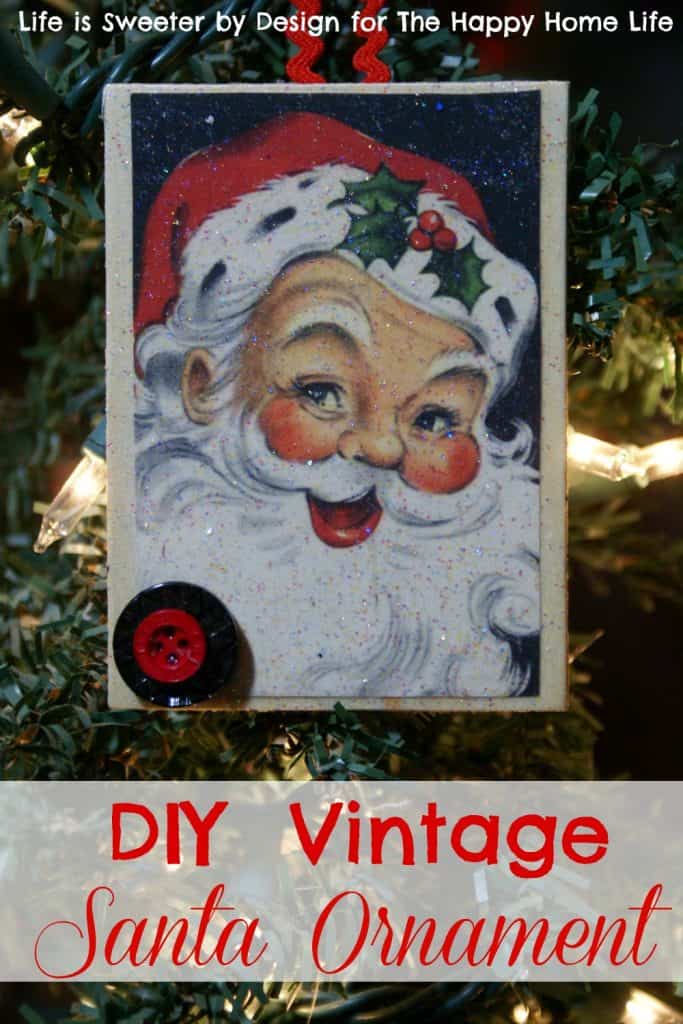
Looking for the cutest and easiest Vintage Santa Ornament to create this year?
I LOVE vintage scrapbooking paper and am always looking for fun ways to use it in my crafting. I decided to take some of this adorable vintage Santa paper to make a Vintage Santa Ornament for the tree! This is a VERY easy and quick ornament to make and looks adorable hanging on my Christmas tree.
 Supplies Needed for a Vintage Santa Ornament
Scissors
Paint Brush
6 inches of ribbon
Misc Buttons
Hot Glue Gun/Hot Glue Sticks
How to Make a Vintage Santa Ornament
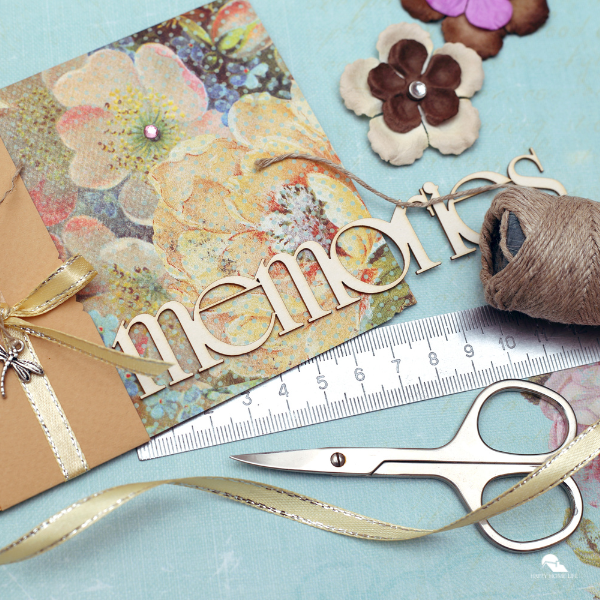
First you need to pick out some great vintage paper to work with. Obviously, you don’t have to use Santa paper…any kind will work! I just loved this Vintage Santa paper from Reminisce!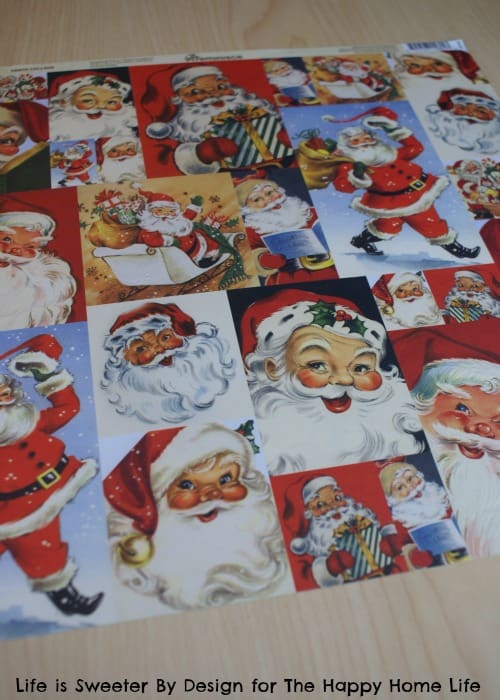
You want to take a thin lightweight wooden shape…I used a rectangle, but you can get these in lots of shapes and sizes at Michaels. Match this piece of lightweight wood to one of the vintage pictures so it is close to the same size. Cut out your vintage picture using your sharp craft scissors.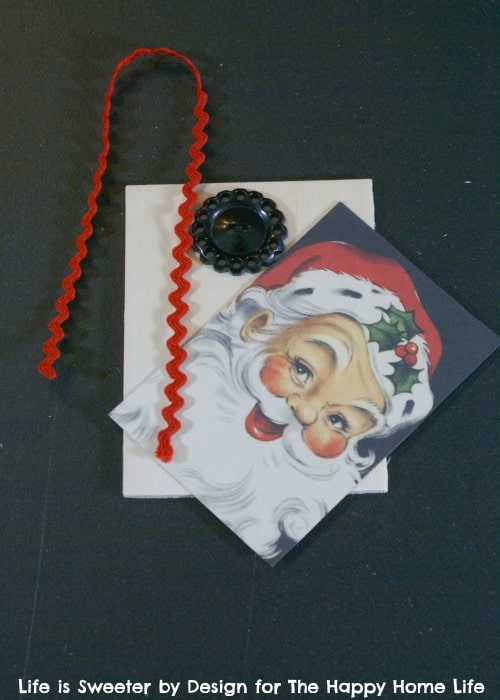
Now you need to glue the picture onto the wood using your Mod Podge. I picked Mod Podge Sparkle because I love that glittery look! You can use the Mod Podge Matte finish if you prefer. Put a thin coat of Mod Podge onto the backside of the paper and position it onto the wooden piece where you want it. Smooth it out and let it dry for a little bit. DO NOT PUT any Mod Podge on the top of the paper yet….be patient for the best outcome!
Check out these Christmas posts:
- 44 Ideas to Decorate For Free This Christmas Your Family Is Going To Love!
- Money Saving Ideas for Christmas
- Frugal Christmas Decor Ideas
Once it has dried for a few minutes you can apply a layer of Mod Podge to the whole top of the wood on top of your paper. I like to use a regular paint brush to apply my Mod Podge for this type of project.
Once the front has dried I turned it over and did a coat on the back side too! I love to add sparkles to everything!
Once the ornament has dried nicely we want to add our ribbon hanger. I used some rick rack because it seemed more vintage to me. I decided to hold it down with a big vintage button. I just added a dollop of hot glue to the back of the button and pressed it down onto the ends of the ribbon creating a hanger.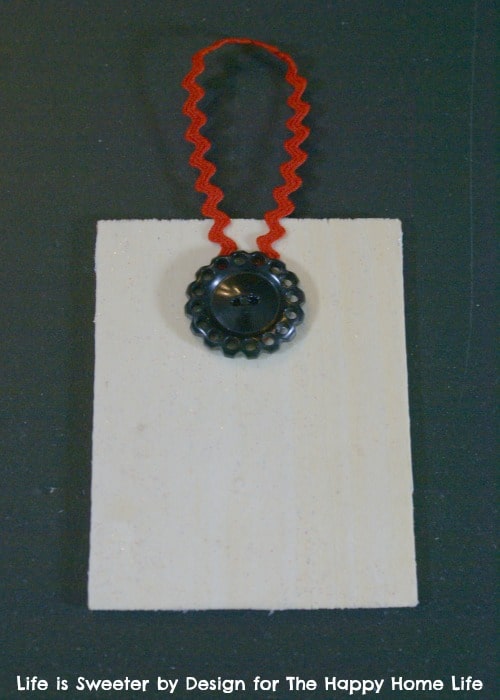
For a final touch I added a couple of small buttons to the front corner! You could add any embellishments that you feel would coordinate with your vintage scene!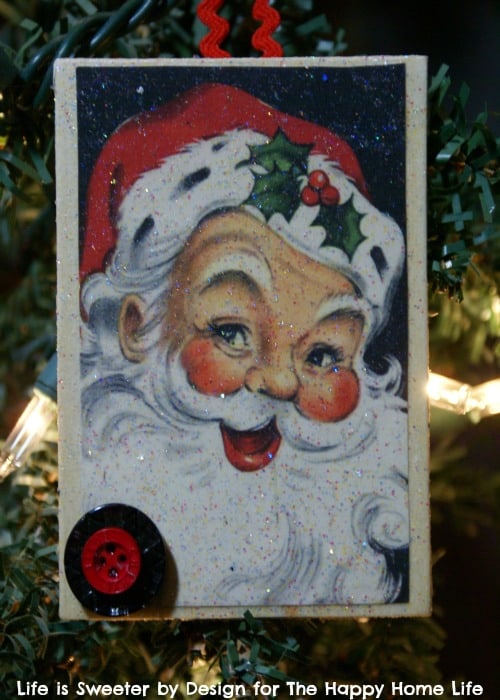
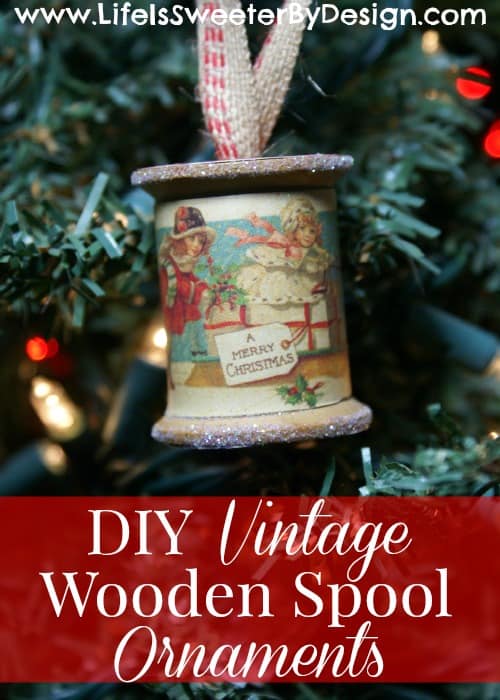
Now you have an adorable Vintage Santa Ornament to grace your Christmas tree! If you liked this ornament tutorial you may want to visit Life is Sweeter by Design to see how to make a Vintage Wooden Spool Ornament!