Granola bars are easy to make and are the perfect addition to your child’s lunchbox. Busy moms know that they also make a wonderful after-school or on-the-go snack. Try these chocolate-dipped granola bars if you’re looking for a recipe that the whole family will love!
[fluentform id=”2″]
While the recipe involves a quite a few ingredients, this recipe makes a large batch of granola bars. And you can feel better knowing exactly what went in to them, too.
Why do my homemade granola bars fall apart?
Granola bars tend to fall apart because without the added sugars, preservatives, and processed ingredients that you find in store-bought granola bars, homemade granola bars lack the moistness and crunch needed to keep them together.
Luckily, this problem can easily be fixed by adding more honey or melted butter or compacting the granola mixture firmly before baking. Following these steps, your granola bars will stay deliciously intact for days!
How do I get my homemade granola bars to stick together?
The most important part of making granola bars at home is getting them to stick together. This can be a challenge without oil or butter. However, it is possible to achieve granola bar perfection with just a few simple ingredients.
Mixing in some honey, nut butter, and/or wheat germ should help bind your granola bar ingredients together. Additionally, pressing down firmly when spooning the mixture into the baking pan will help compress the mixture together for an extra-strong bond.
Experiment with different tools and techniques to achieve granola bars that stick together—you may find that surprising results create delicious variations of your granola bar recipes!
How do you keep homemade granola bars fresh?
Keeping homemade granola bars fresh can be challenging, but following some simple steps can stay fresh and delicious for days. The best way to preserve granola bars is to store them in an airtight container in either a cool, dry place or refrigerated.
Additionally, if granola bars are made with ingredients that contain fat or oil, like peanut butter or honey, they should definitely be placed in the refrigerator.
Lastly, whether refrigerating granola bars or not, consuming them before their expiration date is always beneficial, as granola bars often become dry and hard after some time. These tips should ensure that you enjoy your granola bars as much as possible!
You might like these recipes:
Do homemade granola bars need to be refrigerated?
While some granola bars may require refrigeration, making your own granola bars is a great way to control what ingredients you use and the amount of preservatives you include – meaning that most homemade granola bars do not need to be refrigerated. Instead, store them in a cool, dry place for up to two weeks for optimal freshness. You can enjoy delicious granola bars guilt-free with just a few simple steps!
Are granola bars actually good for you?
Granola bars are a popular snack, but are they actually good for you? While granola bars offer convenience and portability, it’s essential to look at the ingredients before considering them a healthy snack. Many granola bars contain high quantities of sugar, some added artificial flavors and colors, and various preservatives.
It’s important to read nutrition labels on granola bars to determine whether they’re a nutritional option. The most beneficial granola bars are ones with only naturally occurring ingredients like oats, nuts, and dried fruit without added elements such as syrup or preservatives.
For an informed, make-wise decision when purchasing granola bars, it’s important to be mindful of added sugars and other non-nutritional ingredients to maintain good dietary health.
Chocolate Dipped Granola Bars
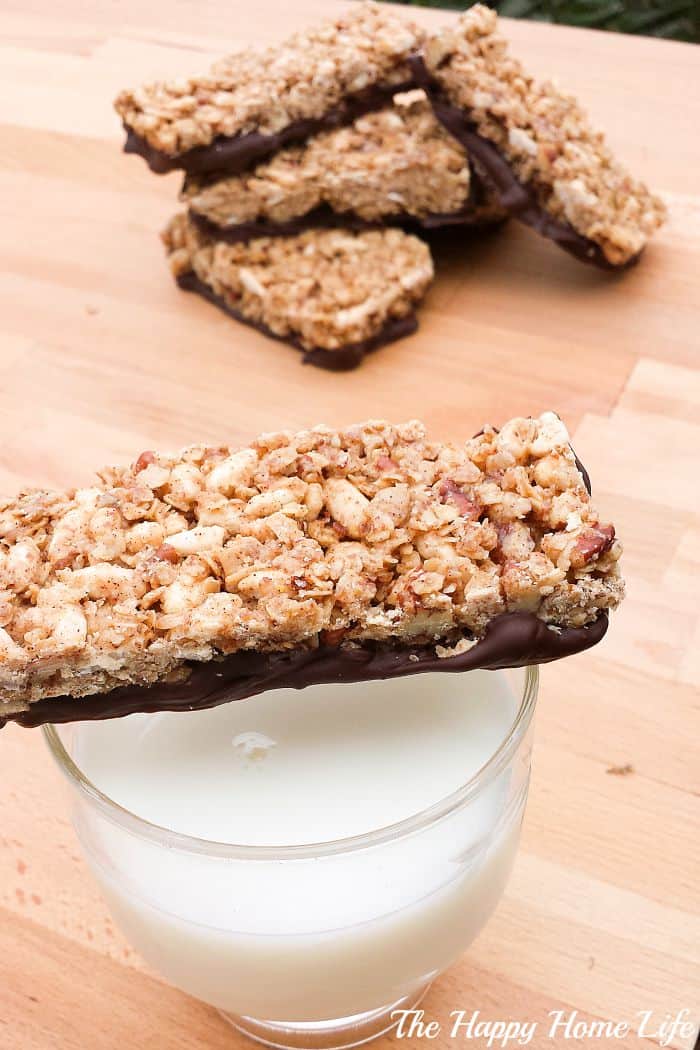
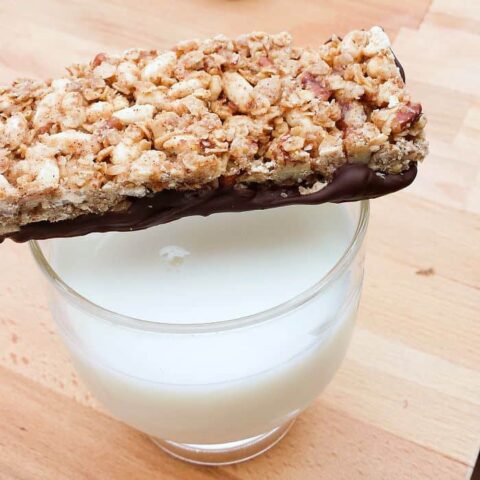
Do you want to satisfy your sweet tooth without drowning in sugar? If so, why not make delicious and nutritious chocolate dipped granola bars? This versatile recipe allows you to customize it to taste with whatever ingredients you have.
Making homemade granola bars can be a fun activity that the whole family can enjoy together and have a tasty snack afterward! So, grab your ingredients, and let’s dive into the instructions on how to make these irresistible treats. Print the recipe below.
Chocolate Dipped Granola Bars
Ingredients
- 6 cups rolled oats (not quick oats)
- 1/4 cup canola oil
- 4 tablespoons butter, melted, plus more for greasing
- 1 teaspoon salt
- 1 cup brown sugar
- 3/4 cup honey
- 1/4 cup apple juice
- 3 teaspoons vanilla extract
- 1 1/2 cups rice cereal
- 1 cup wheat germ
- 1/2 cup finely chopped pecans
- 1/4 cup roughly chopped almonds
- 8 ounces milk chocolate, melted
Instructions
1. Preheat the oven to 350 degrees F.
2. In a bowl, toss the oats with the canola oil, melted butter and salt. Spread the mixture out on 2 baking sheets and toast in the oven for 15 to 20 minutes, shaking the pan twice and making sure they don’t burn. Remove from the oven and set aside. Reduce the heat to 325 degrees F.
3. In a medium saucepan, combine the brown sugar, honey, and apple juice. Heat the mixture slowly, stirring until all combined. Stir in the vanilla and remove from the heat.
4. Toss together the toasted oats, rice cereal, wheat germ, pecans and almonds. Pour in the sugar mixture, stirring as you pour. Toss to combine; it will be sticky.
5. Press into 1 baking sheet (thoroughly greased with butter) and bake until golden, about 25 minutes. Remove from oven and let cool. Cut pieces with a sharp knife and remove from the pan.
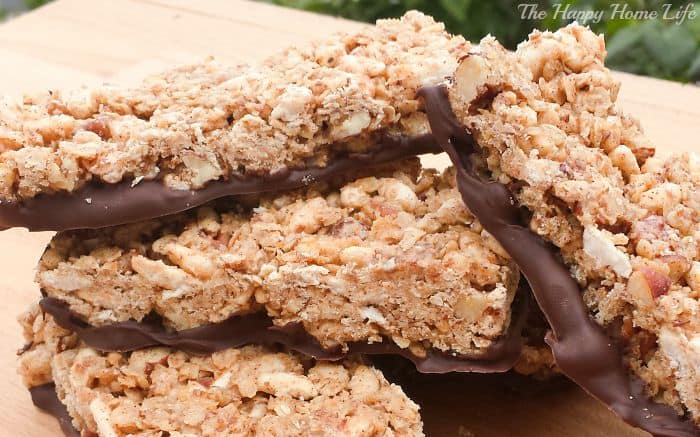
6. Dip the cooled granola bars straight into the melted chocolate so that the top is plain and the bottom is chocolate-covered. Set on parchment until set, sticking in the fridge to hasten this along if necessary.
Nutrition Information:
Yield:
8Serving Size:
1Amount Per Serving: Calories: 826Total Fat: 33gSaturated Fat: 11gTrans Fat: 0gUnsaturated Fat: 20gCholesterol: 22mgSodium: 392mgCarbohydrates: 121gFiber: 10gSugar: 65gProtein: 15g
These nutritional calculations might not be accurate. Please speak with a licensed nutritionist to assist you.
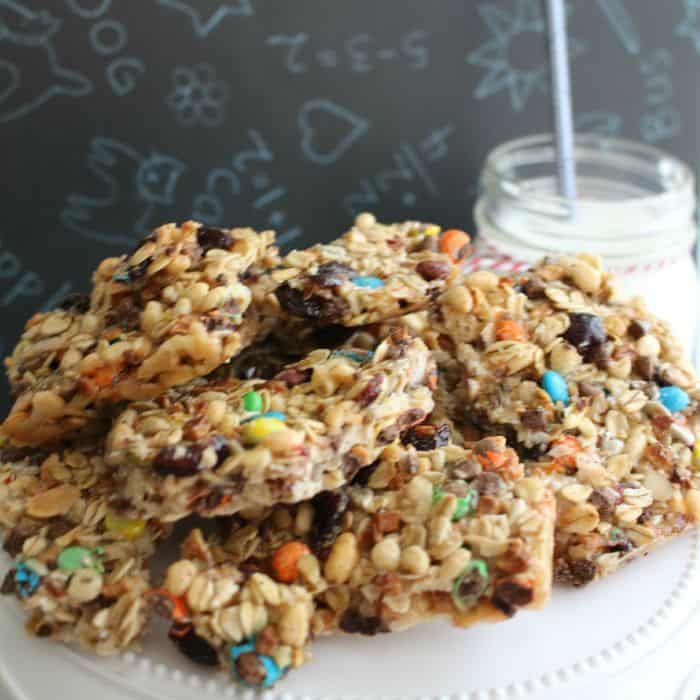
Looking for more granola recipes? Try these M&M and Raisin Granola Bars on my blog, Glue Sticks and Gumdrops. They’re amazing!

